How to Fix Peeling Kitchen Cabinets:

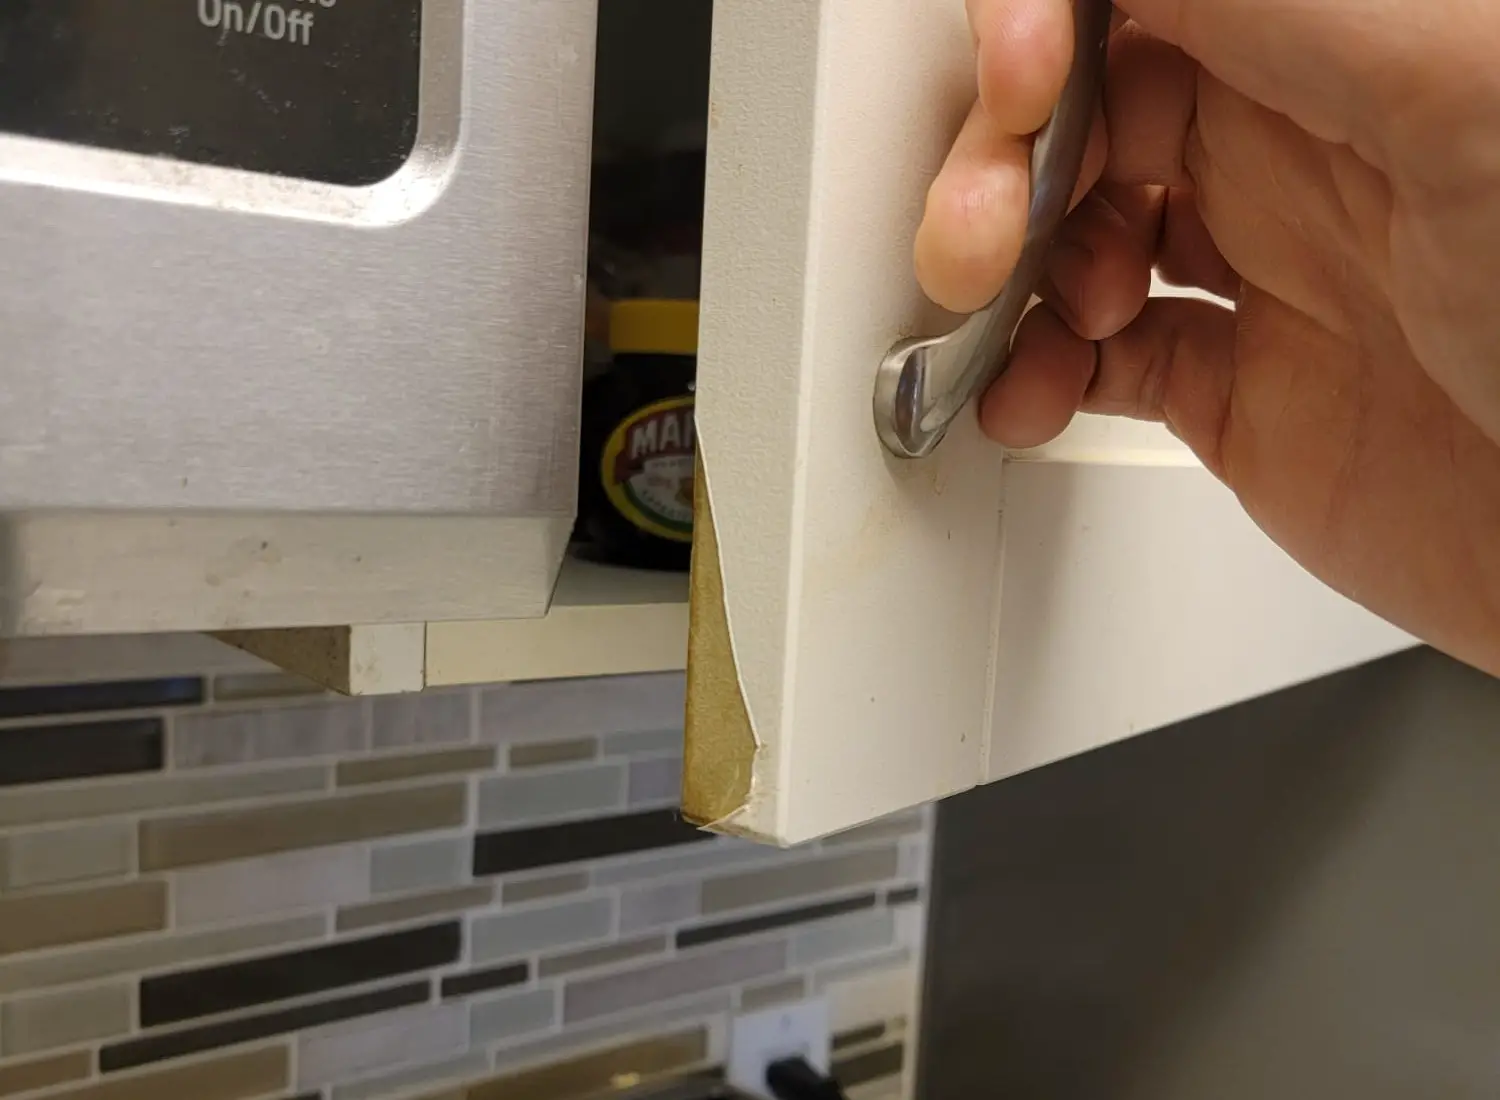
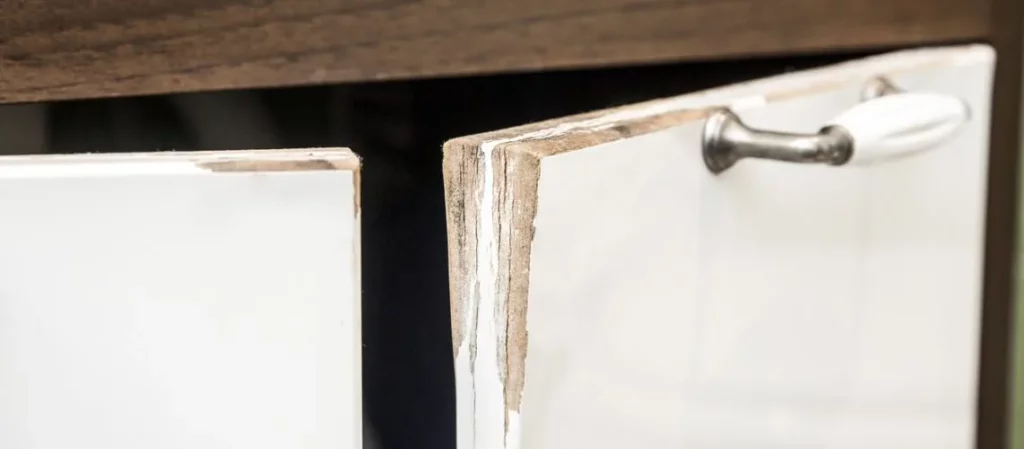
Your kitchen is the heart of your home, and the appearance of your kitchen cabinets plays a significant role in defining its overall aesthetics. However, wear and tear can take a toll on these cabinets over time, leading to issues like peeling. Peeling kitchen cabinets can affect the durability and usability of your cabinetry, in addition to how ugly they look.
Understanding the Causes of Peeling Cabinets

Before we delve into the solutions, it’s crucial to understand why your kitchen cabinets might be peeling. Some common causes include:
- Moisture: Exposure to moisture, especially in kitchens, can lead to peeling. This is often seen near sinks, dishwashers, or areas prone to spills.
- Heat and Sunlight: Direct sunlight and excessive heat can cause the finish or laminate on cabinets to degrade and peel over time.
- Low-Quality Materials: Cabinets made from subpar or poor-quality finishes are more likely to experience peeling.
- Wear and tear: Frequent use, along with abrasions from pots, pans, and utensils, can lead to peeling.
- Aging: Cabinets, like all things, age. Over time, the adhesive that holds laminates or veneers in place can weaken, leading to peeling.
Assessing the Damage
The first step in fixing peeling kitchen cabinets is to assess the extent of the damage. Determine whether the peeling is limited to a specific area or if it affects multiple sections. Additionally, identify the cause of the peeling to prevent it from recurring.
Materials You’ll Need
Before you begin the repair process, gather the necessary materials:
- Utility Knife: For trimming loose or peeling veneer or laminate.
- Screwdriver: Remove cabinet hardware if necessary.
- Wood Glue: high-quality wood glue for reattaching loose veneer or laminate.
- Clamps: To hold glued sections together while drying.
- Sandpaper: Various grits for smoothing and prepping the surface.
- Wood filler: to fill gaps or imperfections after sanding.
- Primer: A high-quality primer suitable for your cabinet material.
- Paint or varnish: Matching paint or varnish to refinish the cabinets
- Paintbrushes: for applying primer and paint or varnish.
- Protective Gear: Safety goggles, gloves, and a dust mask to protect yourself.
Step-by-Step Guide to Fixing Peeling Kitchen Cabinets
1. Prepare Your Workspace
Start by clearing out your cabinets and creating a clean, clutter-free workspace. Lay down drop cloths to protect your floor and countertops.
2. Remove Hardware
If your cabinets have hardware, like knobs or handles, remove them using a screwdriver. This makes the repair process easier and prevents damage to the hardware.
3. Trim Loose Edges
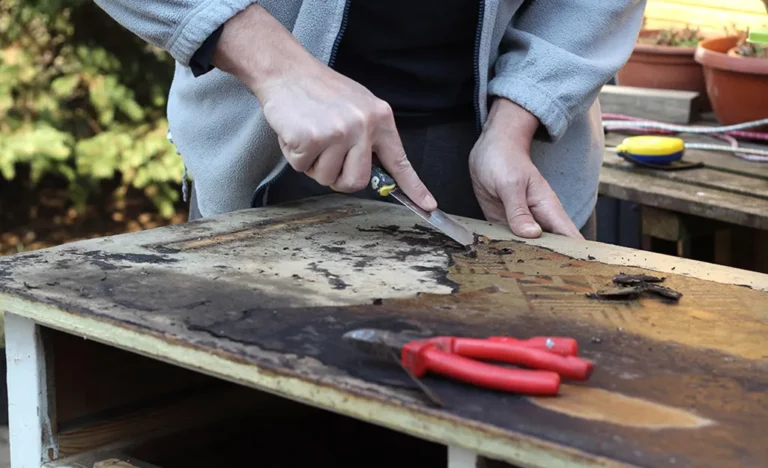
Use a utility knife to trim away any loose or peeling veneer or laminate carefully. Be gentle to avoid further damage to the cabinet surface.
4. Glue and Clamp
Apply wood glue to the exposed substrate (the surface underneath the peeling material). Press the peeling veneer or laminate back in place. Use clamps to hold it securely while the glue dries, typically for at least 24 hours.
5. Sanding
Once the glue is dry, sand the repaired area and the surrounding cabinet surface. Start with coarse-grit sandpaper to level the surface, then move to finer grits for a smooth finish.
6. Fill Imperfections
If there are gaps or imperfections after sanding, use wood filler. Allow the filler to dry, then sand it smooth.
7. Prime the Cabinets
Apply a high-quality primer to the entire cabinet surface. This ensures good adhesion for the paint or varnish and provides a uniform base.
8. Paint or Varnish
After the primer is dry, apply paint or varnish that matches the existing cabinet finish. Use a brush for a smooth, even coat. You may need multiple coats depending on your cabinets’ material and desired finish.
9. Reattach Hardware
Once the paint or varnish is completely dry, reattach the cabinet hardware.
10. Clean Up
Clean your workspace, remove drop cloths, and dispose of waste materials properly.
Tips for a Successful Cabinet Repair
- Quality Matters: Invest in high-quality materials and tools for a durable and long-lasting repair.
- Take Your Time: Rushing the process can lead to mistakes. Allow adequate drying time between each step.
- Protect yourself: Wear safety gear, especially when sanding and working with chemicals.
- Professional Help: If the damage is extensive or you lack the necessary skills, consider consulting a professional cabinet refinisher.
Preventing Future Peeling
To prevent future peeling, maintain your cabinets with these tips:
- Keep cabinets dry by promptly wiping up spills.
- Avoid placing hot objects directly on cabinet surfaces.
- Install window treatments to shield cabinets from direct sunlight.
- Regularly clean and polish your cabinets using appropriate products.
Fixing peeling kitchen cabinets is a rewarding DIY project that can extend the life of your cabinetry and refresh the look of your kitchen. Following these steps and practicing preventive maintenance allows you to enjoy beautiful, functional cabinets for years.
Matching the Finish
When refinishing peeling cabinets, achieving a seamless match with the existing finish is essential for a professional look. Here’s how to ensure a close match:
- Collect Samples: If possible, obtain a sample or chip of the original cabinet finish. You can use this as a reference when selecting paint or varnish.
- Consult a Pro: If the original finish is particularly unique or challenging to match, consider consulting a professional finisher. They can create a custom finish to match your cabinets precisely.
Choosing the Right Paint or Varnish
Selecting the correct type of paint or varnish is crucial to ensuring your cabinets look good and endure daily wear and tear. Here are some considerations:
- Water-Based vs. Oil-Based: Water-based paints and varnishes are low in VOCs (volatile organic compounds), making them more environmentally friendly and less harmful to your health. Oil-based products are exceptionally durable but may emit more fumes.
- Sheen Level: The sheen level determines the level of gloss or shine in the finish. Cabinets are typically finished with satin or semi-gloss sheens, which are easy to clean and offer a moderate shine.
- Drying Time: Water-based finishes dry faster, often within hours. Oil-based finishes may require more extended drying times, up to 24 hours between coats.
- Topcoat or Sealer: Applying a clear topcoat or sealer over your paint or varnish can enhance durability and protect the finish from moisture, stains, and abrasions.
Proper Ventilation
When refinishing cabinets, ensure proper ventilation. Good ventilation helps dissipate fumes and speeds up the drying process. Work in an area with open windows and use fans to improve air circulation if possible.
Storing and Handling Hardware
During the refinishing process, you’ll have cabinet hardware like knobs and handles to deal with. Here’s how to manage them effectively:
- Label and Store: Label each piece of hardware and its corresponding location on the cabinet. Place them in separate containers or bags for safekeeping.
- Cleaning Hardware: Consider cleaning or polishing hardware while it’s removed. This can refresh the look and extend the life of your hardware.
- Reattaching Hardware: Use the same screw holes to maintain alignment when reattaching hardware. If new holes are necessary, measure carefully and drill precisely to avoid misalignment.
Regular Maintenance
Once your kitchen cabinets are refinished and looking fantastic, it’s crucial to maintain them to prevent future peeling or damage. Here’s a routine maintenance checklist:
- Clean Cabinets: Regularly wipe down your cabinets with a damp cloth or mild, non-abrasive cleaner to remove grease, dust, and food residue. Avoid abrasive cleaners, as they can damage the finish.
- Polishing: Periodically apply a furniture polish or wood conditioner to keep your cabinets looking their best. These products nourish the wood and enhance the finish.
- Inspect and Repair: Regularly inspect your cabinets for signs of wear, loose hardware, or peeling. Address any issues promptly to prevent them from worsening.
- Avoid Harsh Chemicals: Be cautious when using strong chemicals near your cabinets, as they can damage the finish. Always follow product instructions.
By following these additional tips and diligently maintaining your kitchen cabinets, you can ensure that the refinishing job remains pristine for years. Fixing peeling kitchen cabinets means restoring their appearance and extending their life and functionality, making it a worthwhile DIY endeavor.

