Simple Steps for Refinishing Wood Furniture:

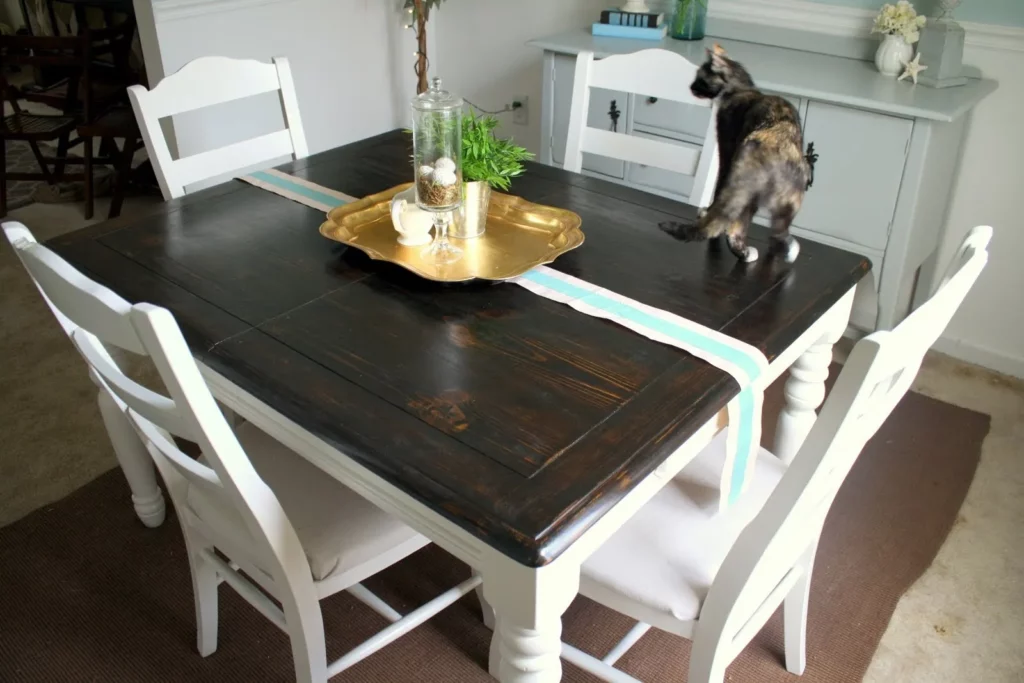
Wooden furniture, with its timeless charm and durability, can last for generations when properly cared for. However, your beloved wooden pieces may show wear, scratches, or a dated finish. Rather than replacing them, consider refinishing them. Refinishing wood furniture is a rewarding DIY project that can breathe new life into your cherished items and even transform thrift store finds into stunning pieces.
Why refinish wood furniture?

Before we dive into the steps, it’s important to understand why refinishing is a valuable endeavor:
1. Restore Beauty: Over time, wood furniture can lose its luster due to scratches, watermarks, or an outdated finish. Refinishing helps restore its original beauty.
2. Cost-Effective: Refinishing is often more cost-effective than purchasing new furniture. It allows you to retain quality pieces while updating their look.
3. Personalization: Refinishing offers the opportunity to customize the finish and style of your furniture to match your decor preferences.
4. Environmental Impact: Repurposing and refinishing wood furniture is eco-friendly, as it reduces waste and minimizes the need for new materials.
Materials You’ll Need
Before you start, gather the necessary materials:
- Safety Gear: safety goggles, a dust mask, and gloves to protect yourself.
- Drop Cloths: Protect your work area from spills and splatters.
- Sandpaper: Various grits (from coarse to fine) for smoothing the wood.
- Paint Stripper: If your furniture has multiple layers of paint or varnish,
- Paintbrushes: for applying stripper, stain, and finish.
- Wood Stain: Add color or enhance the wood’s natural hue.
- Wood Finish: Choose varnish, polyurethane, or wax for a protective coat.
- Rags or brushes: for applying stain and finish.
- Plastic Sheets or Bags: To wrap hardware or parts you don’t want to strip or stain.
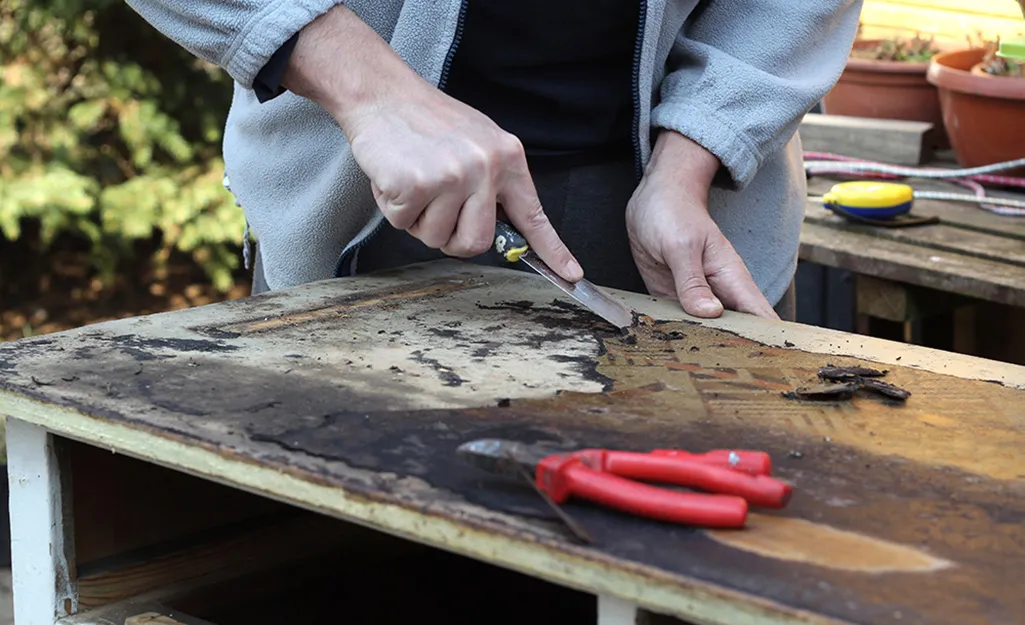
- Scrapers: for removing old finishes or paint.
- Tack Cloth: To remove dust and debris between sanding and finishing.
- Wood filler: To repair any holes or gouges.
- Screwdriver or wrench: to remove hardware if necessary.
Step-by-Step Refinishing Guide
1. Prepare Your Workspace
Choose a well-ventilated area, preferably outdoors, and lay down drop cloths to catch debris and drips. Ensure you have access to power outlets for tools like sanders.
2. Safety First
Put on your safety gear: safety goggles, a dust mask, and gloves to protect yourself from dust, chemicals, and fumes.
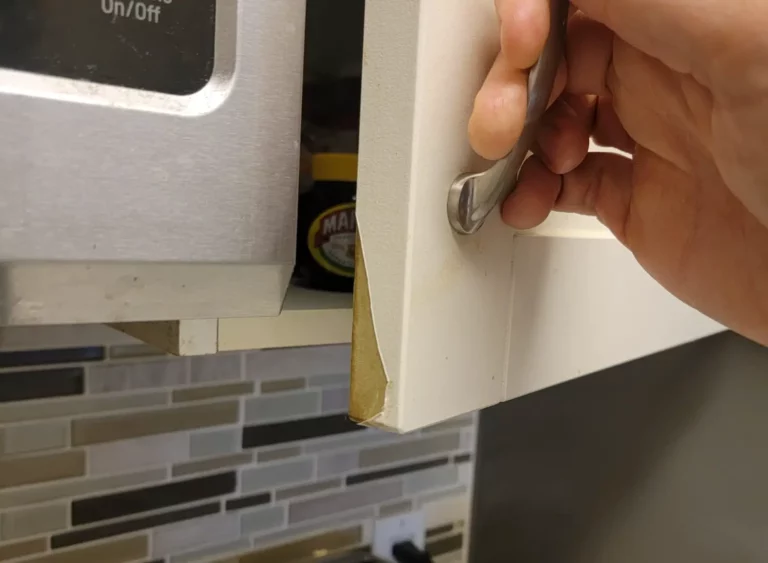
3. Remove Hardware
Remove your furniture using a screwdriver or wrench if it has hardware, like knobs or handles. This step makes refinishing easier and prevents damage to the hardware.
4. Assess and Plan
Examine your furniture for any structural damage or repairs needed. If there are holes, gouges, or loose joints, address them before proceeding.
5. Strip the Old Finish (If Necessary)
If your furniture has multiple layers of paint or varnish or you want to change the color significantly, you may need a paint stripper. Follow the manufacturer’s instructions for application and removal. Ensure you work in a well-ventilated area and wear appropriate protective gear.
6. Sanding
Start with coarse-grit sandpaper and progressively move to finer grits. The goal is to remove any remaining finish, smooth out imperfections, and prepare the surface for staining or finishing. Sand in the direction of the wood grain to avoid scratches. Don’t forget to stand by any intricate details or crevices.
7. Clean Thoroughly
Remove all dust and debris by wiping the furniture with a tack cloth. Ensure the surface is perfectly clean before moving on to staining.
8. Staining
Choose a wood stain that complements your decor or enhances the wood’s natural beauty. Apply the stain using a paintbrush or a clean cloth toward the grain. Allow it to penetrate for the recommended time (usually 5–15 minutes), then wipe off the excess stain with a clean cloth. For a darker color, repeat this process.
9. Apply and finish
Once the stain is dry, apply a wood finish to protect the wood and give it a beautiful sheen. You can choose from varnish, polyurethane, or wax. Follow the manufacturer’s instructions for application and drying times, and apply multiple coats for added durability.
10. Reattach Hardware
After the finish has fully dried, reattach any hardware you removed earlier. Ensure it’s tightly secured.
11. Buff and Polish
Lightly buff the surface with fine-grit sandpaper or steel wool between finish coats for a smooth and lustrous finish. After the final coat, you can apply furniture polish or wax for extra shine.
12. Enjoy Your Refinished Furniture
Once your furniture is completely dry, bring it back to its designated spot and enjoy the refreshed look of your piece.
Tips for Success
- Take Your Time: Rushing the refinishing process can lead to mistakes. Be patient, and allow each step to fully dry and cure before proceeding to the next.
- Practice on Scrap Wood: If you’re new to refinishing, practice your staining and finishing techniques on a piece of scrap wood to gain confidence and perfect your skills.
- Ventilation: Ensure proper ventilation when working with chemicals like paint strippers and finishes. Work in a well-ventilated area or wear a respirator.
- Follow Instructions: Always follow the manufacturer’s instructions on product labels for safety and best results.
- Protect yourself: Always wear safety gear, especially when sanding or working with chemicals.
Conclusion
Refinishing wood furniture is a satisfying DIY project that restores the beauty of your cherished pieces and allows you to personalize your decor. With the right materials, techniques, and patience, you can breathe new life into your wooden furniture, giving it a fresh and elegant look that can be enjoyed for years. So, roll up your sleeves and get ready to transform your furniture into stunning, revitalized pieces that enhance your living space. Happy refinishing!

